

When a friend told me about this stuff, I did some research and found this on YouTube, it was called “Good Girl Moonshine”. My husband, bless his heart, can’t remember names at all, so he inevitably began to call it “Good Girl Juice” and occasionally requests that I fix him a bottle of it. We can only hope he’s not telling the guys at work what he calls it. Ha.
Now, I was skeptical upon seeing the downright ecstasy with which these two sisters extolled the virtues and health benefits of drinking this stuff. But since I’m always looking for something to help give me energy or lose weight, I was game to try it. Here are the simple ingredients for making this concoction:
- ice (fill a 32 oz. container to the top)
- purified water (just don’t use tap!)
- lemon juice (2 Tsp)
- ginger root, grated (2 Tsp)
- apple cider vinegar [also known as ACV] (2 Tsp)
- sweetener (to taste)
First of all, make sure whatever brand of ACV you get that it has “the mother” in it. Ha-ha.. I know, that just sounds weird, but stick with me. This simply means the ACV is organic and unfiltered, which leaves it with strands of the apple protein, enzymes and friendly bacteria. It will appear as a sort-of ‘sediment’ which may float at the top or settle in the bottom of the bottle. I use Bragg’s brand because it has been around for forever and has a good reputation for being an excellent product. ACV has TONS of benefits for your health, including stabilizing blood sugar, promoting weight loss, and aiding digestion among others you can read about here.
Secondly, purified water. We all know the importance of pure water. Don’t take a chance with your tap water.
Thirdly… the lemon juice, make sure it is 100% juice and not a cocktail or a lemonade mix.
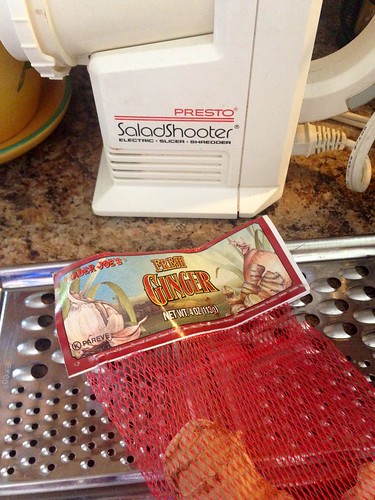
Fourthly, (is that even a word?) and probably the most complicated…ginger root. My adventures in procuring “the perfect” ginger have been varied and somewhat disappointing. I’ve bought it from Kroger, Walmart, Trader Joe’s and Whole Foods.
I can’t really tell that it makes a difference where you get it other than from Whole Foods, it will more likely be organic. (but check to make sure if that’s what you’re looking for) No matter if it’s organic or not, ginger root is gonna be different. I’ve found some that are a dark yellow, almost brown color, others that are bright yellow and more moist. Ginger is stringy by nature, but sometimes it will be MUCH stringier than others. Those daggone strings drive me nuts!
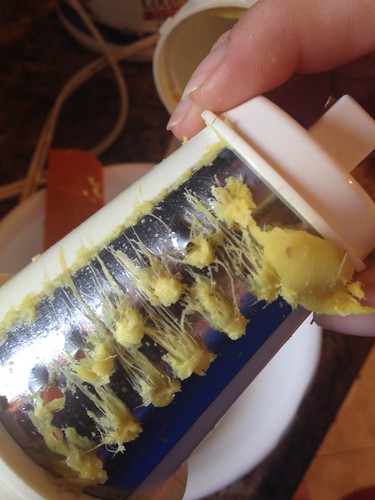 |
| Egads! The strings!!! |
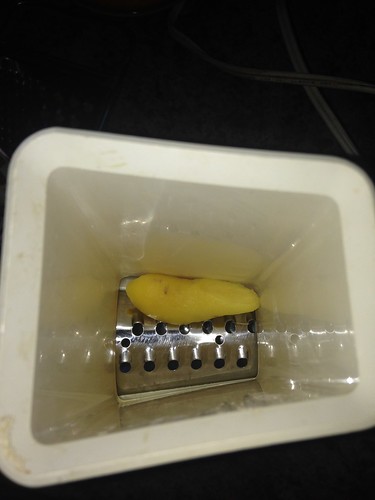
Ginger will grate best when it’s frozen, so pop that baby in the freezer soon as you get it home. I’ve read posts that say you don’t HAVE to peel it, but I don’t like the papery texture of the ginger peel, so I use the back side of a knife and scrape the peel off as best I can.
 |
| We have grown extremely fond of ginger as witnessed by my empty tub of Trader Joe’s famous Triple Ginger Snaps. They’re the bomb & a couple of them make a nice treat after a delicious, healthy supper. |
As you can see below, I have an ancient Salad Shooter that I’ve started using after grating the old fashioned way quickly got too time-consuming. I don’t know how long my Shooter will work because, seriously, it’s OLD and the grater cone has a crack in it, but it sure beats the grater EXCEPT for having to stop and disassemble the thing to clear the strings. ARGH!
I’ve also used my old-fashioned crank grater…you know, the shiny silver kind your grandma probably had that you either clamp or suction to the counter. It is tied with the Shooter for efficiency. Meh.
STOP THE PRESSES FOR THIS UPDATE! [9-14-15]
I had been contemplating buying a zester, which is basically a very fine shredder/grater but I digress, to see if it would do any better for this. I had serious doubts and didn’t want to end up with another kitchen gadget I had no room to store in my house, but the other day I found one in Burkes on sale, so I grabbed it and lo and behold:

IT WORKS!! And wonderfully well, I might add! I did enough for my 48 ounce bottle in two snaps. FOR REAL! No stopping to clean the blades, no immense waste from all the strings (there ARE no strings with the zester!) Be sure it’s still frozen though, I’m sure that made it all the quicker.
So rejoice and cue the “Hallelujah Chorus” y’all…then run out and get yourself a zester RIGHT NOW!
And now back to your regularly scheduled post….
So, really grating the ginger is the single most time-consuming part of this whole process. I will admit to using ground ginger in a pinch.
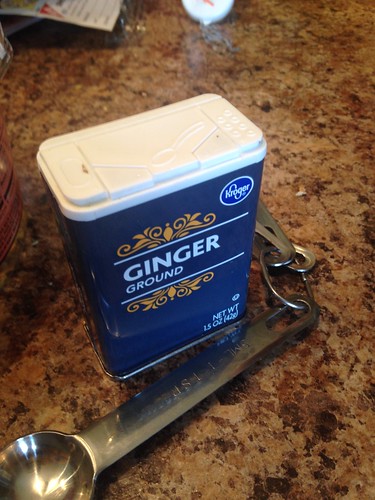
However, let me spare you some pain by sharing what I learned the first time I used ground instead of fresh: use ONLY 1 TEAspoon of the ground, not a TABLEspoon…and DEFINITELY not TWO tablespoons!! (stop laughing!) Be aware, too, that the ground will not completely dissolve, so just be sure to shake it each time before you take a swig so it’s not all concentrated at the bottom or that last mouthful will FEEL like you put 2 tablespoons in it.
Once you finally have your ginger grated, you’re ready to put your concoction together. You simply put all the ingredients in your jar or bottle (more on that in a sec), shake it up really good and let it sit for about 5 -10 minutes (if you can wait that long).
As for sweetener, I have a couple different things I use.
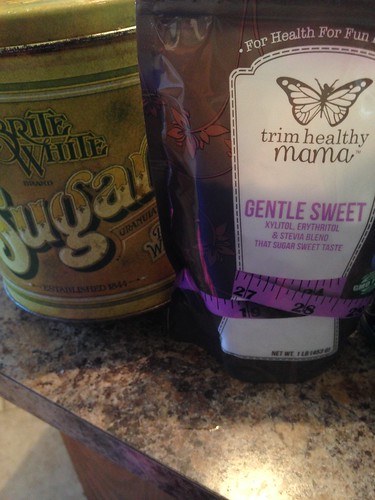
Yes, I actually use regular ol’ sugar too. Having had type 1 diabetes for over 40 years, I have tasted pretty much every artificial sweetener to come down the pike. I have tasted some dawg-nasty stuff, trust me. I don’t really care for any of them, even the newest stuff, and I avoid artificial sweeteners as much as possible.
Then there are the side effects of using those types of things. I have never been able to tolerate stevia, but I keep trying. Most any artificial sweetener will give me a headache. I don’t need any of those, thank you, so when I am going to “splurge” on a sweet treat, I just go for the real thing and bolus to cover it. Now you know. So anyhow, I make a 48 ounce batch for myself (that’s the size bottle I have) and so using around a tablespoon of sugar in that amount along with the properties of the ACV apparently, I don’t need to bolus insulin for it. It has never caused my blood sugar to spike.
Okay, now for the bottle. If you watched that video linked at the first of this post, you will see they are using regular ol’ glass Mason jars. That’s fine for most anyone, I suppose, but there are many downfalls to using those. For one, my hands are too small to easily grip a quart jar. They are glass…difficulty gripping them is a pretty sure bet I’m gonna drop one and break it all over the place. Not fun. They don’t travel well. Sure, you could go ahead and put the flat and ring on it if you wanted to take it with you in the car, but it ain’t gonna fit in the cup holder, ya know? Then there’s the problem of actually carrying it from one place to another. What do you do? Put it in your purse? No, I had to find a better solution.
My family is full of outdoorsy nutjobs. Seriously, they love hiking, kayaking, camping, cycling (of course) and rock climbing. We are always in the market for VERY sturdy equipment. Somewhere along the line, my husband and boys found these things…
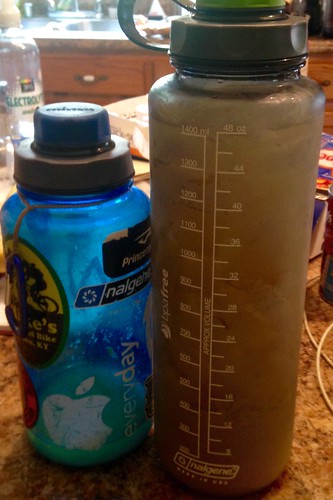
Nalgene bottles rock! We have about 5 of them just between Hubby and myself. They are made of a hard BPA-free plastic that’s almost indestructible. In addition to these Nalgene bottles, we get something called a Cap-Cap for them so that they’re easier to drink from.
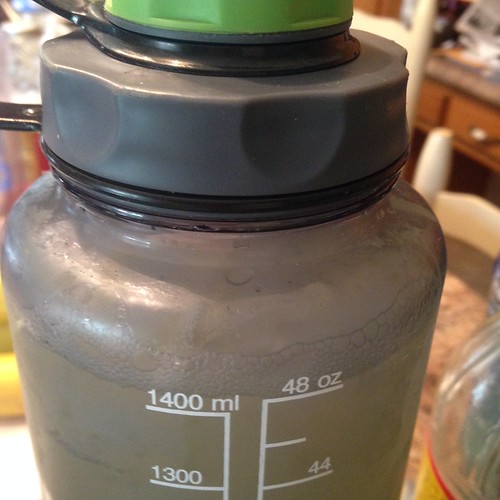
You can see most of the Cap-Cap in the above photo. It essentially lets you have a smaller opening to drink from (eliminating that inevitable face-splash from drinking from the larger one) and still have easy access to the wide-mouth of the bottle for filling with ice and liquid. I got some of my Cap-Caps on Amazon, but they also carry them in most outdoors or sporting goods stores. REI is our favorite. I swear I’m not getting kickbacks, but we do love our awesome outdoor gear! You can also see this is my 48 oz bottle. Nalgenes come in 16 oz, 32 oz and 48 oz sizes. They also have different styles and cap-types available.
The single downfall I have found to using my Nalgene is that it’s like a little baby drinking from a huge sippy cup. You are NOT gonna sneak a sip from it in a meeting or group setting, trust me. But if that’s the only drawback, I’m okay with it. Ha-ha!
I try to get a full 48 ounces of GGJ every day. I haven’t found that it gives me tons of energy which is really disappointing, but it is obviously helping me lose weight. After the cycling kick-started my body into dumping some weight, adding this is the only thing that could be helping me continue to lose even after NOT being able to ride for over two months now. Now THAT is exciting!
One more product before I go… this:
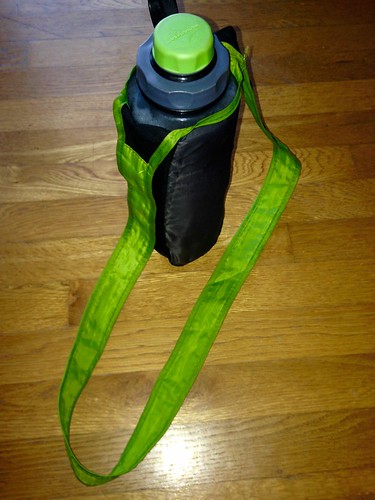
We laughingly refer to that as my Nalgene Purse. It’s made by a company called ChicoBag and we bought one for me (at REI) after a short hike up to Natural Bridge wherein I had to awkwardly tote that heavy bottle the whole time because I had on running shorts with nowhere to hang it on my pants.
It doesn’t work as well with the 32 oz, only because you will have to roll or push the top of the bag down a bit to expose the top of the bottle, but is designed perfectly for the 48. Even when I’m just around the house drinking my GGJ, I put it in the bag. It keeps it from sweating on everything and makes it easy to grab and keep right with me. I’ve been known to take it into the grocery store or even a restaurant with me. It “wads” up into itself leaving you with a neat little stuff sack, has a small caribiner to clip your keys to when you head out for a hike or paddle. It also sports a couple of little skinny pockets on the handle just right for a pen or a tube of lip balm.
Let me know if you start drinking your own Good Girl Juice and how it works for you! I’d love to hear.
